CLI Setup
CLI System Requirements
Minimum System Requirements
The system requirements are general guidelines and may vary depending upon the size of the Coalesce project. Projects with a large number of nodes may have higher system requirements.
- OS: 64-bit Windows 10, macOS 11, Linux kernel version 5.0+
- Processor: AWS t2.medium 4X vCPU or equivalent / Apple M1 / Intel Core i3-10100 4 Core or better / AMD Ryzen 3 1200 4 Core or better
- RAM: 8 GB+ RAM
- Storage: 1 GB+ free space
- Network: Access to Snowflake Instance and Coalesce Cloud
- Node Version: v20.x
Recommended System Requirements
If you are utilizing Coalesce with a high volume pipeline, having thousands of nodes or more in your environment, we recommend the following configuration:
- OS: 64-bit Windows 10, macOS 11, Linux kernel version 5.0+
- Processor: Apple M1 or newer (preferred) / AWS t2.medium 8X vCPU or equivalent / Intel i3 8X Core or higher / AMD Ryzen 3 8X Core or better
- RAM: 16 GB+ RAM
- Storage: 1 GB+ free space
- Network: Access to Snowflake Instance and Coalesce Cloud
- Node Version: v20.x
Just need to review the config file? Go to Profiles.
Prerequisites
- Install Node.js version 20.x
- Have a Coalesce project with a pipeline that has been committed. Take a look at the quick start for your data provider.
- Clone the repository connected to your Coalesce project. You'll use this when making requests.
Installation
- To install Coalesce CLI globally, run:
npm install -g @coalescesoftware/coa. - If you need to update, run:
npm upgrade -g @coalescesoftware/coa.
Authentication Methods
Each platform supports different authentication methods.
- Databricks
- Snowflake
Snowflake OAuth is not supported for the CLI.
Snowflake Key Pair Authentication
- Go through Snowflake’s key pair authentication steps to generate your keys.
- Make sure to generate a private key and save it for later use in the Coalesce app and the CLI. You'll need the file path.
- Generate your public key using the private key created for Coalesce.
- Assign the public key to your Snowflake user.
- Add your KeyPair to your Environment.
- Move on to Get Your Access Token.
When entering your private key, make sure it's formatted properly. It must include the full private key including the lines BEGIN ENCRYPTED PRIVATE KEY and END ENCRYPTED PRIVATE KEY. If you are using special characters they must be escaped with a \. For example:
Original passphrase: hnw6a#n
Escaped passphrase: hnw6a\#n
Be sure to escape # pound sign and : semi-colons.
For Example:
- Original passphrase:
hnw6a#n - Escaped passphrase:
hnw6a\#n
-----BEGIN ENCRYPTED PRIVATE KEY-----
...hnw6a\#n....
-----END ENCRYPTED PRIVATE KEY-----
Snowflake Basic Authentication
Basic authentication only requires your Snowflake username and password. This method is not recommended for automation. If you use OAuth to log into Snowflake, you'll need to use Key Pair for the CLI.
- Follow the instructions in Snowflake Username and Password.
- Save your credentials for the CLI config file.
- Make sure to add the credentials to the Environment.
- Move on to Get Your Access Token.
Databricks Token Authentication
Personal Access Tokens (PAT) are used in Databricks to authenticate at the workspace level. They are good for development.
- Follow the instructions in Databricks Connection Guide.
- Save your credentials for the CLI config file.
- Make sure to add the credentials to the Environment.
- Move on to Get Your Access Token.
Databricks OAuth Machine-to-Machine
Machine-to-Machine OAuth is used for automation. You'll need to create a Service Principal in Databricks.
- Follow the instructions in Databricks Connection Guide.
- Save your credentials for the CLI config file.
- Make sure to add the credentials to the Environment.
- Move on to Get Your Access Token.
Get Your Access Token
No matter the authentication method you use, you'll need an access token.
Go to the Deploy tab and click Generate Access Token.
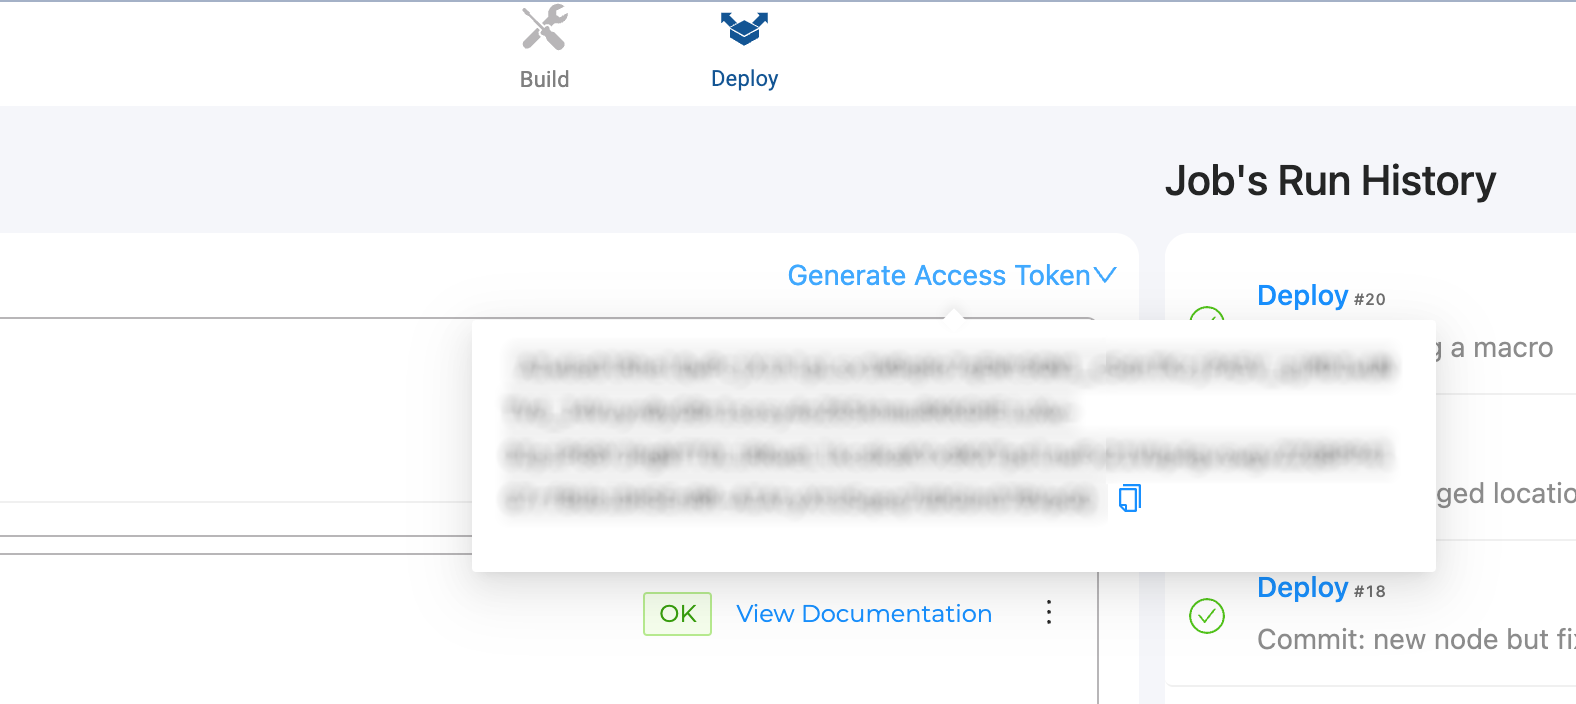
SSO users will need a new access token for each new Environment created.
Get Your Environment ID
There are many places to get your Environment ID. A quick method is to look into the Coalesce app.
Go to Build Settings > Environments.

Get Your Domain URL
Your URL is what you use to log in to Coalesce. The following are examples.
https://<company-name>.coalescesoftware.iohttps://<company-name>.pp.us-east-2.aws.coalescesoftware.iohttps://app.eu.coalescesoftware.iohttps://<your-private-link-url>
Creating Your CLI Config File
Before creating your config file, ensure you have:
- Access token from Coalesce
- Environment ID from Coalesce
- Authentication credentials for your data platform
- Location of your private key file if using Key Pair
- Domain URL
-
In your operating system's home directory, create a hidden folder
.coaand an empty file with no extension calledconfiginside.~/
└── .coa/
└── config -
Copy and paste either the Key Pair or Basic information into your
configfile.
- Snowflake Key Pair
- Snowflake Basic
- Databricks OAuth M2M
- Databricks Token
[default]
token=access_token
domain=your_domain_url
snowflakeAuthType=KeyPair
snowflakeKeyPairKey=file_path_to_private_key
snowflakeKeyPairPass=private key passphrase (if using KeyPair and if applicable. Can leave out if not using passphrase)
snowflakeRole=snowflake_user_role
snowflakeUsername=snowflake_user_name
snowflakeWarehouse=snowflake_warehouse
environmentID=environment_ID
Not recommended.
[default]
token=access_token
domain=you_domain_url
snowflakeAuthType=Basic
snowflakeUsername=username
snowflakePassword=password
snowflakeRole=SYSADMIN (or other role)
snowflakeWarehouse=snowflake_warehouse
environmentID=envID
[databricksOAuthM2M]
platformKind=Databricks
databricksClientID=<Databricks Client ID>
databricksClientSecret=<Databricks Client Secret>
databricksAuthType=OAuthM2M
databricksPath=<Databricks SQL Warehouse Path>
environmentID=<Coalesce ENV ID>
[databrickstoken]
platformKind=Databricks
databricksAuthType=Token
databricksToken=<Databricks Token>
environmentID=<Coalesce ENV ID>
Create a Plan
To check your credentials, you'll create a plan.
A plan details the target environment, Nodes, Jobs, and other information needed deploy or refresh. Create your plan in the same repo, branch, and commit.
coa plan

# if using multiple profiles
coa plan --profile <profile-name>
This will generate a coa-plan.json. You can review this file, but we don't recommend editing directly. If you want to make changes, make them using the API or the Coalesce app. Then commit your changes and regenerate your plan.
HTTP Proxy
The Coalesce CLI will work with proxy environments. Set your proxy variables by using:
# For Windows (Command Prompt)
set HTTP_PROXY=http://your-proxy-address:port
set HTTPS_PROXY=http://your-proxy-address:port

# For Windows (PowerShell)
$env:HTTP_PROXY = "http://your-proxy-address:port"
$env:HTTPS_PROXY = "http://your-proxy-address:port"

# For macOS/Linux
export HTTP_PROXY=http://your-proxy-address:port
export HTTPS_PROXY=http://your-proxy-address:port

# Auth
export HTTP_PROXY=http://username:password@your-proxy-address:port
export HTTPS_PROXY=http://username:password@your-proxy-address:port
You can test your connection by using a tool like curl. For example:
curl https://app.coalescesoftware.io
curl -x http://your-proxy-address:port https://app.coalescesoftware.io
Profiles
In Coalesce, profiles allow you to run commands against different configurations, making it possible to tailor settings for various environments, such as testing or production. Each CLI command includes the --profile option, which enables you to specify a profile for the scenario you're working with. If no profile is specified, the system defaults to using the [default] profile. While you must have a [default] profile, additional profiles can be named and configured as needed for different scenarios.
coa plan --profile databricksOAuthM2M
The [default] profile is required. It must contain the token and environmentID.
[default] <REQUIRED>
token=<Coalesce API Token> REQUIRED
environmentID=<Coalesce ENV ID> REQUIRED
domain=<Coalesce APP URL>

[databrickstoken]
platformKind=Databricks
databricksAuthType=Token
databricksToken=<Databricks Token>
environmentID=<Coalesce ENV ID>

[databricksOAuthM2M]
platformKind=Databricks
databricksClientID=<Databricks Client ID>
databricksClientSecret=<Databricks Client Secret>
databricksAuthType=OAuthM2M
databricksPath=<Databricks SQL Warehouse Path>
environmentID=<Coalesce ENV ID>


[snowflake-key-pair]
platformKind=Snowflake
snowflakeAuthType=KeyPair
snowflakeKeyPairKey=<Snowflake Key Pair Key or File Path>
snowflakeRole=<Snowflake Role>
snowflakeUsername=<Snowflake User Name>
snowflakeWarehouse=<Snowflake Warehouse>
environmentID=<Coalesce ENV ID>

[snowflake-basic]
platformKind=Snowflake
snowflakeAuthType=Basic
snowflakeUsername=<Snowflake Account Username>
snowflakePassword=<Snowflake Account Password>
snowflakeWarehouse=<Snowflake Warehouse>
snowflakeRole=<Snowflake User Role>
environmentID=<Coalesce ENV ID>
What's Next?
- Some things you can use the CLI for is Deploy Using the CLI and Refreshing an Environment.
- Read the available CLI Commands.